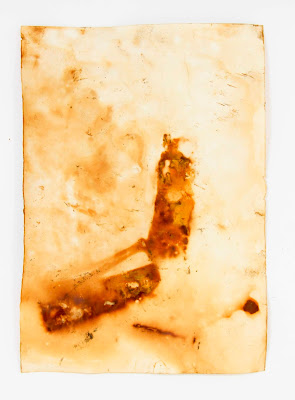
Rust Dyeing on Paper
Once again, trying a new technique (for me) came about
because of my mum. (You can see a previous example of this here, from back in March when I tried out snow dyeing with her.)
This time she was wanting to rust dye fabric, so I decided I would try rust
dyeing paper and see how it all worked. As you will see from the photos towards
the end of this post, it was definitely a success and something I’d love to try
again in the future.
I used a variety of paper types and weights, such as watercolour
paper, cartridge paper, khadi papers and my own recycled paper. I found that
the two handmade papers worked so much better, which might have something to do
with their absorbency. I used several different types of rusty objects, including
nails, tins and metal fixings. I did notice that some items transferred the
rust better than others. I’m not sure if this has something to do with the
amount or type of rust, but it produced very variable results depending on the
item used.
To get the rust to transfer, I soaked the paper in a mix of
malt vinegar and water (although tea also works and might be better for dyeing
paper), and sandwiched my rusted items in between a few of sheets. I had to
make sure the paper was properly soaked in the vinegar-water mix, but without
leaving it standing in it, because the rust needs air to oxidise. I also needed
to put a heavy object on top of the paper, to make sure it remained in contact
with the rust to get a good transfer.
I started off by leaving it for an hour, but as you’ll see
in the photos below, that wasn’t really long enough, so I left the rest of the
paper for about 24 hours and got much better results.


Comments
Post a Comment